This project comes from, Jessica Begum, the crafty momma behind the blog Hipster’s Tea Party.
Check out her tutorial for how to make silhouette mirrors:
“I love the vintage look of a silhouette. I collaborated with my crafty friend Sonya Nimri of Sonyastyle.com on how we could make modern silhouettes of our children.
Here is what we came up with! Love them! And quite easy to make.”
Supplies:
- A digital photograph of your child’s silhouette
- Printer
- Craft mirrors – I used 8″
- Shelving paper
- Glue stick
- Sharp little scissors
- A can of frosted glass spray paint
- Ribbon
- Glue gun
- Rhinestone “bling tape” or scrapbooking embellishments (optional)
Directions:

Begin by getting a silhouette photograph of your child. The best way to do this is to sit them down on a chair against a blank wall.
Take photo’s of your child looking slightly up, straight and slightly down. You can decide which is best when you look at them on the computer.
Once decided, play with the contrast and definition controls if your photo program allows. Try to obtain a nice crisp outline of the silhouette. If taken inside, it helps to brighten the exposure up a bit.

Crop the photo so it’s just your child’s head and top part of his/her torso.
Then print a black and white 4×6 print onto plain printing paper. This should give you the right size for an 8″ mirror.
Glue your photo onto shelving paper with a glue stick, or even better, spray glue. Carefully cut out your child’s silhouette.
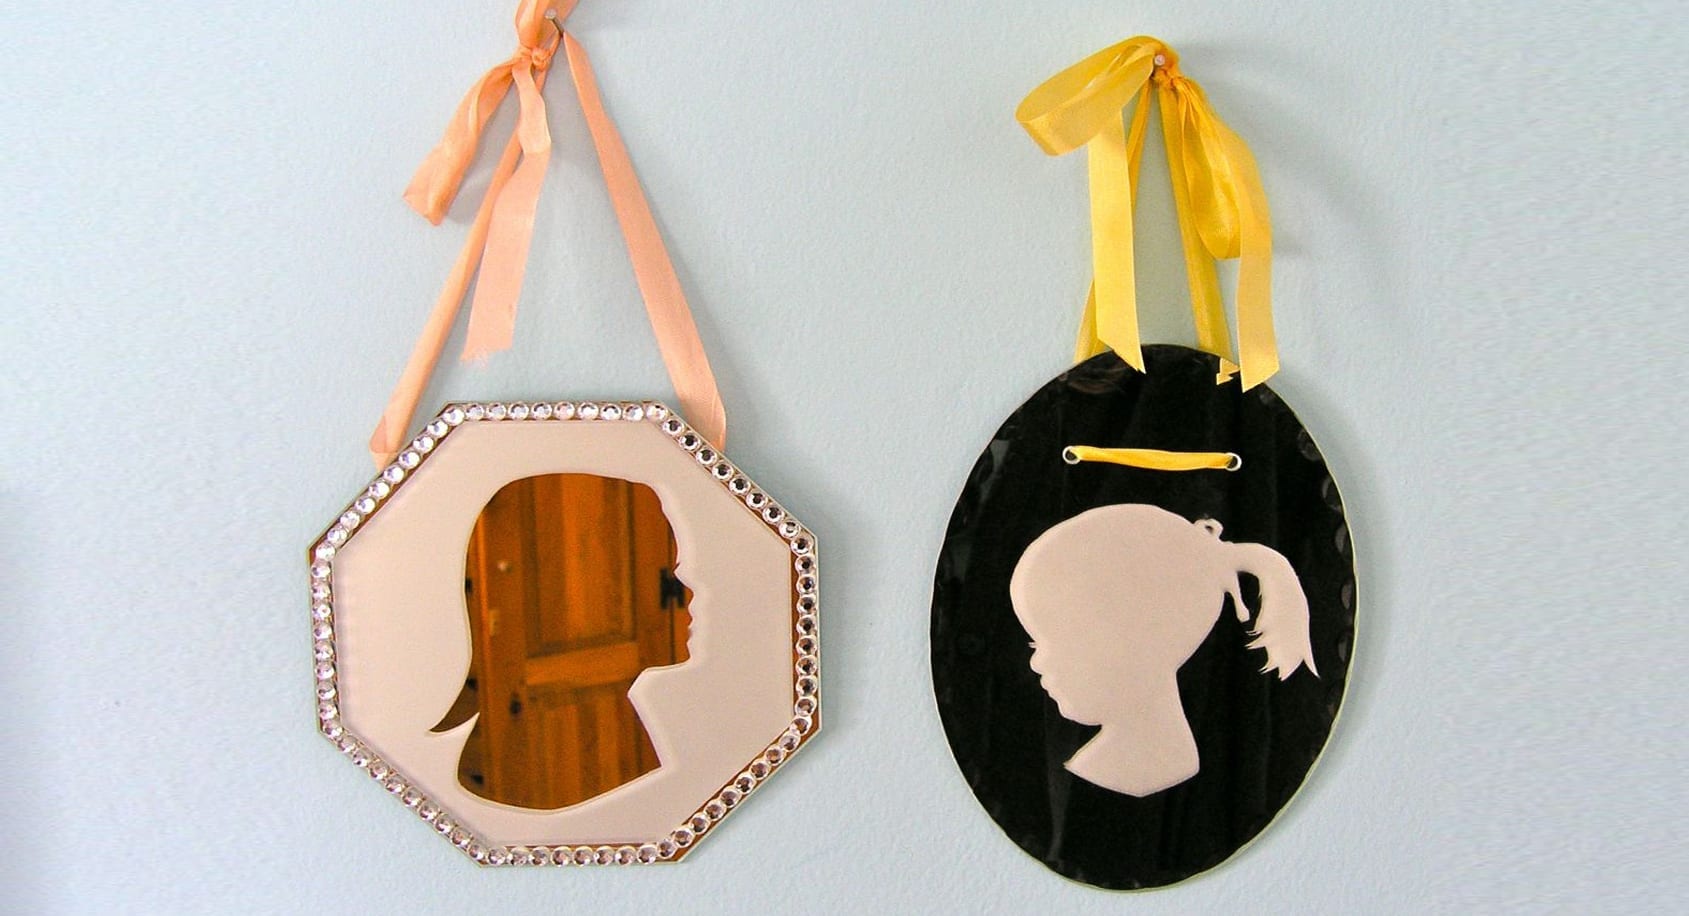
I did this two ways so I got one mirror as a negative and one as a positive:

If you are going for the negative effect, meaning you want the silhouette frosted, make sure your shelving paper covers the entire mirror, and carefully cut a single slit at the bottom of the shelving paper. Once placed on the mirror, you can use an extra piece of shelving paper to block this cut off, so no spray gets in.
 When you are ready to place the silhouette positive or negative on your mirror, make sure the mirror is squeaky clean and dry.
Un-stick the backing from the shelving paper and stick down firmly, rubbing out any bubbles and securing all edges with a paper towel. I don’t suggest you use your fingers for this. You want to keep your mirror very clean.
In a well ventilated area (the stuff stinks!) spray the mirror with your frosted glass paint. Follow the directions on the can, as many brands vary in direction. Once dry to touch – again on the can’s guidelines – carefully remove shelving paper from mirror and reveal your child’s silhouette! Carefully! You don’t want to nick the paint when removing.
Note: do this once the paint is dry to the touch. If you wait until it dries completely, the shelving paper could pull off extra paint when removed. If the paint has leaked in places, you can carefully scratch the leak off with a razor blade.

My octagon shaped mirror had a bevel on it, which I blocked off with extra shelving paper before I sprayed. Then, once the mirror dried overnight, I used “bling tape” (it was actually called this) to fancy up the edges.
I hot glued a ribbon on the back of my mirror as a hanger, and covered it with a piece of felt so it stayed nice and secure. One of my mirrors came with drilled holes in the front for hanging, so I didn’t have to do this to that one.

TIP: Careful when cleaning!!! If you smudged your mirror in the process, don’t go spraying it with Windex once you think it is dry. I actually did this and had to re-do one of my mirrors completely because the image smeared badly. The paint can recommended I wait one hour before cleaning, but NOT the case! Next time I’m just going to dust it lightly with a cotton towel, no Windex.
Planning to try this at home? We’d love to see how it turns out! Send us photos of your crafty efforts and we’ll add them to our photo gallery!