Making your own decorations for winter can save you money and allow you to put a personal touch on your home decor. Make decorations that fit into your current home decor, while adding a winter touch. Your winter decorations can work throughout the entire season or be specific to a winter holiday. Change up your winter decor as often as you please to keep you in festive spirits.
Pine Cone Wreath
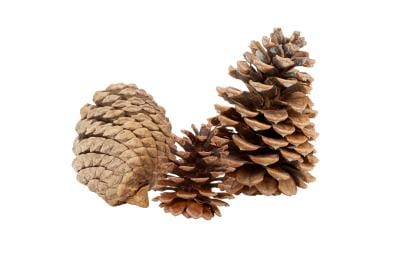
Step 1
Spray paint each pine cone and the wreath base with a color that complements your decor. Silver or white works with nearly any decor, red or green keeps with the Christmas holiday and a brighter color, such as a metallic blue or fuchsia, can add interest to your decor.
Step 2
Allow the paint to dry completely.
Step 3
Brush glue over each pine cone, covering the pine cone completely, with a small foam brush.
Step 4
Roll the pine cone through glitter on a paper plate, or spoon the glitter over the pine cones. Set aside to dry completely.
Step 5
Glue the pine cones around the base of the wreath. Attach the pine cones on their sides for more a more stable wreath, or arrange them for the appearance you want.
Step 6
Hang the wreath with a colorful ribbon by tying the ribbon around the wreath in between two pine cones and using the excess ribbon to hang it on the door or from the ceiling. Alternatively, place it around a candle or bowl on your dining table. Use a LED candle or glass candle holder if you plan to light the candle.
Tree Full of Birds
Step 1
Cover the outside of a large pot or vase in festive wrapping paper, tinsel or ribbon. Tape the material to the insides and bottom of the pot for a seamless look. Opt for a solid color, holiday images or birds. Alternately, use a tree skirt with images of birds.
Step 2
Fill the pot with sand or rocks for stability.
Step 3
Spray paint the twigs or small branches with the color of your choice, or wrap thin wired tinsel around the twigs for a shiny effect. Allow the paint to dry.
Step 4
Brush glue onto the birds and add glitter, feathers or both. Use colors that bring you joy, whether they make sense or not. For example, create pink and purple birds or blue and silver birds.
Step 5
Arrange the branches in the sand or rocks inside the pot. Each branch can be free-standing from the others, or you can glue a few together to create a tree.
Step 6
Attach the birds to the branches with glue or wrap thin wire around the birds’ legs and the branch.
Winter Garland
Step 1
Cut winter shapes out of thick paper, such as card stock. Common shapes include snowflakes, Christmas trees or leaves. The shapes can all be the same exact size and shape or mix different sizes together.
Step 2
Brush glue onto the paper shapes and generously sprinkle with glitter. Allow the glue and glitter to dry.
Step 3
Punch a hole in the top of each shape.
Step 4
Thread the ribbon through the hole and tie a knot so the shape stays in place. Repeat this process with each shape, tying them to the ribbon couple inches apart. The result will be a garland of shapes.
Step 5
Hang the garland on a wall by taping each end of the ribbon to the wall or applying poster putty to the wall, then pressing the ribbon onto the putty to keep the garland in place.