Scarves! Thermals! Soup! Boots! Yay for FALL! My absolute favorite time of year.
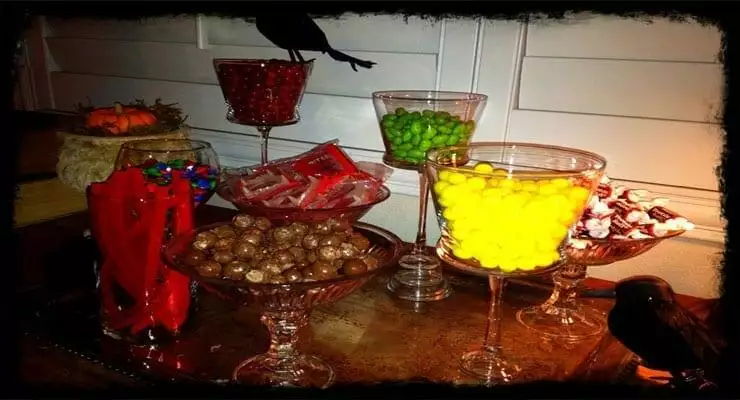
The holiday season starts in October, and to help celebrate, I crafted this really cool candy centerpiece!
(I recommend showing it off at a “grown-up” party since it’s glass and a tad high reaching – although it could be ok for kids…with parental guidance.)
Here’s what I did:
I gathered my glass parts from the good ‘ol Dollar Store. I collected small glass vases with wider rims. I grabbed a few glass bowls, small candle sticks and tall, thin tea light holders.
I didn’t really know how to attach glass (with glass glue?) but I decided the ever-functional and convenient hot glue gun would have to work.

My pieces don’t have to last forever – if they graced a few parties throughout the season I still got a great deal…and there can always be more glue gun gluing!
So, I started gluing my parts together. I made them all different heights and sizes.


Then I placed them on a tray and displayed them filled with seasonal candy:

Note: If you want your pieces more permanent, use E-6000 glue. You can purchase it at hardware and crafts stores everywhere! You can also spray paint your glass candlesticks. It takes some coating, but FLAT paint works best!
You can give your set any look depending on the type of gathering you are preparing for. Next I’m going to use it at a baby shower next month, filled with nuts and fancy chocolates – (sans the black birds!)
Happy Halloween!