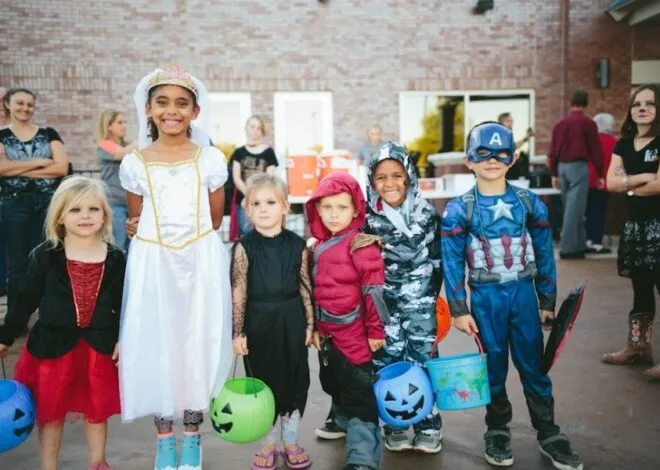
Autumn and children go together like peanut butter and jelly.
From the apple orchard to the pumpkin patch, falling leaves to Halloween, there are many activities for children of all ages to enjoy during the crisp fall season. Front lawns adopt the seasonal hues through cornstalks, potted mums, and pumpkins.
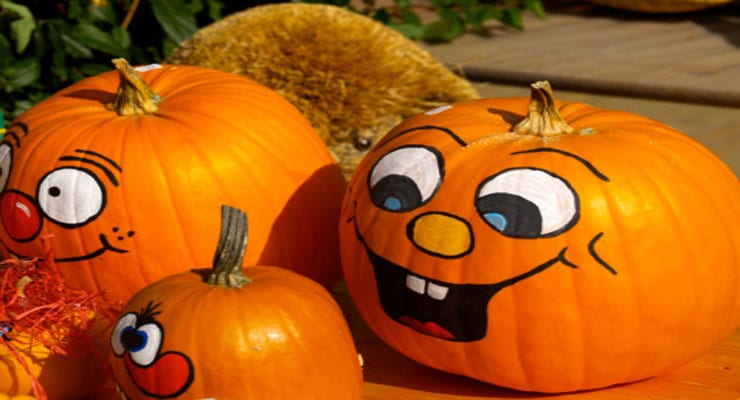
Kids enjoy carving pumpkins into jack-o’-lanterns in the days leading up to Halloween. But why wait until the end of October? Painting pumpkins is a safe, fun craft enjoyed weeks before the holiday.
Step 1
Wash the pumpkin with a wet paper towel and allow to dry. Do not scrub the surface too hard or it could break open or bruise.
Step 2
Spread newspapers over a flat surface conducive for painting.
Step 3
Apply the multipurpose sealer with a paintbrush over the entire pumpkin. Allow a few hours for the sealer to completely dry.
Step 4
Paint pumpkins and allow to dry before handling. You can first draw the face on the pumpkin with a pencil or pen. Don’t trust your freehand skills? Use stencils or templates to trace the face onto the pumpkin. Traditional jack-o’-lanterns have triangular eyes and noses, but who says you can’t use squares or circles?
Tips:
- Have a wet paper towel on hand to wash away any mistakes you make.
- Place masking tape on the pumpkin where you want to create sharp lines.
- Consider coloring the entire pumpkin first before drawing a face.
Inspiration:
Green works well for a witch’s face. Paint the pumpkin black and transform it into a spider or bat. Dark purple is a ghoulishly good color, too. Add glitter or glow-in-the-dark paint.
Get creative! The only limit is your imagination.