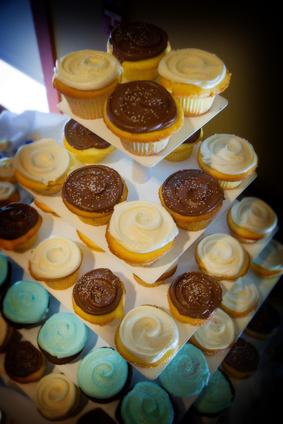
Cupcake trees are tiered cake stands, with the largest tier at the bottom and progressively smaller ones toward the top. This DIY cupcake tree relies upon foam core or cake decorating rounds stacked with Styrofoam dummy cake forms and decorated with basic craft supplies. Cupcakes are a playful accent to a wedding, especially displayed on a cupcake stand. While you can buy cupcake holders at your local craft store, making you own custom cupcake tree will allow you to create a look that meshes well with your wedding style and decor.
Step 1
Plan on three to four tiers for a smaller wedding or more for a larger wedding. Size the tiers accordingly. Plan on 16-inch, 12-inch, and 8-inch, tiers for a small wedding cupcake tree, holding anywhere from 2 to 3 dozen cupcakes. Opt to add 24-inch and 20-inch tiers to more than double this capacity for a larger wedding.
Step 2
Cut foam core to size for each tier of your cupcake tree. Mark the desired size and shape on each tier with a compass or straight edge before cutting with a craft knife.
Step 3
Paint 6-inch tall Styrofoam cake dummy forms. Black will allow your supports to disappear visually.
Step 4
Trace the shape of each cake round or tier onto the back side of paper or fabric. Carefully cut one piece of decorative paper or fabric for each foam core or cardboard round. Neatly adhere onto the levels of your cake stand with spray adhesive.
Step 5
Use hot glue to apply ribbon or trim around the edges of each round or tier.
Step 6
Center a cake dummy on top of the largest cupcake stand tier. Hot glue into place, then center the next layer atop the support. Glue the second round of the cupcake tree into place. Repeat for each tier to form a stacked structure for your cupcake stand.
Photo Credit
- cupcakes image by Mat Hayward from Fotolia.com


