If you are looking for a unique item to add to your party’s table decorationsthat can also be used as a gift, consider making decorative cellophane candy bags. Whether you are planning a child's birthday party, a dinner party for friends,or simply want to give out little treats at the holidays, these candy bags can be easily and inexpensively made for any occasion. Easy enough for little hands to make, kids will also enjoy this craft.
If you are looking for a unique item to add to your party’s table decorationsthat can also be used as a gift, consider making decorative cellophane candy bags. Whether you are planning a child's birthday party, a dinner party for friends,or simply want to give out little treats at the holidays, these candy bags can be easily and inexpensively made for any occasion. Easy enough for little hands to make, kids will also enjoy this craft.
Things You'll Need
Small plastic cellophane bags * Small candy pieces * Colored card stock paper * Patterned scrapbook paper (optional) * Rubber stamping materials (stamps and ink) * Colored pencils or pens * Standard ruler * Stylus embossing tool * Standard scissors * Decorative-edge scissors (optional) * Stapler * Staples * Hot glue gun and hot glue (optional) * Ribbon (optional) * Other scrapbook embellishments (optional)
Choose Your Size Cellophane Bag
Pick the size of candy bag you want to make. Most craft stores will have clear bags made up in various sizes, from 3 inches by 3 inches size to about 6 inches by 8 inches. Something in the middle usually works best in terms of your decorative surface and the amount of candy you can put in the bag.
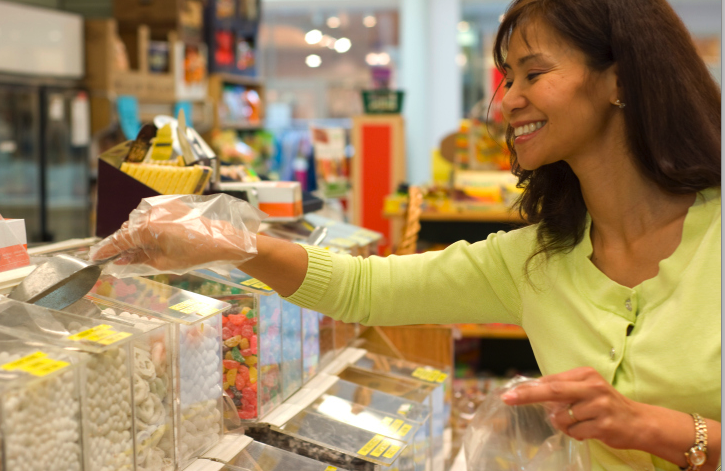
Pick your Candy
Pick the kind of candy to add to your bag. Consider candy you would find in the bulk section of your grocery store because the pieces are fairly small.
Card Stock
Take a piece of card stock paper and measure out the same width as the cellophane bag and then add a ½ inch; cut. Measure out the length at 6 inches and cut.
Grab Your Tools
Taking your embossing tool, measure down the length of your card stock paper to the half way point (3 inches) and crease across the short part of the paper. Fold in half
Stamp Away
Decorate one side (or both) of the paper with rubber stamped images, stickers, scrapbook embellishments, ribbon or other decorations.
Fill It Up
Fill the cellophane bag with candy so that the bag is no more than 3/4 full.
Fold It Up
Place the bag's opening in between the folded card stock paper so there is ¼ inch of paper border on the left and right edges and the bag is at least half the way up inside the paper flaps.
Close It Up
Staple the paper to the bag on both the left and right sides, towards the bottom of the paper's edge.
Tips and Warnings
Add some colored crinkle paper or grass to the bottom of the bag for more flare. Make the decorative toppers different sizes based on the decorations or embellishments you want to use. Before folding your paper on the crease, rubber stamp an image of your choice across the middle of the paper. Fold along the crease and cut out the back side of the image using an X-Acto knife to get a pop-up effect. Try punching two holes in the paper instead of a stapler and then lace ribbon through the holes and tie.