These creepy Halloween bat bags are super fun for a kid-friendly Halloween party.
They hang upside down and you can fill them with different treats to serve at your party or hand out at the door to your spooky trick-or-treaters!
Bat Treat Bags
You’ll Need:
- 4″ black paper bags (available at Michaels)
- The Lilyshop bat bag template
- Chalk or pencil
- Black paper
- Scissors
- Glue stick
- Ribbon
Directions:
Using the Lilyshop bat template and either chalk or pencil, trace wing shapes onto black construction paper.
Cut out your batty shapes. If your kids are older, this will be something they can do, but if you have little fingers at your craft table, it would be better for Mom or Dad to do the cutting.
Now it’s time to build the bats! Remember that bats hang upside down.
Start with your 5 inch black bag with the flat side (not the folded side) facing up. Position the fold at the top and begin gluing on your bat’s eyes, nose, teeth, and toes.
Open the bag up. Fold the tabs on the wings and glue just the tab to the side of the bag.
Glue the ribbon to the top of the bag and stuff it with treats.
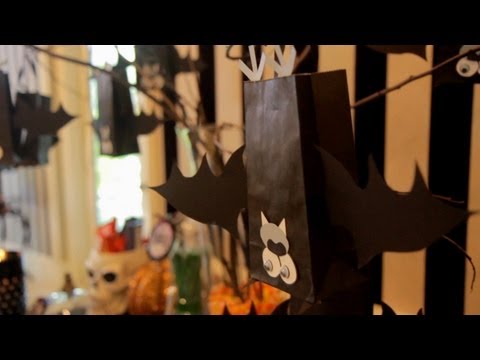
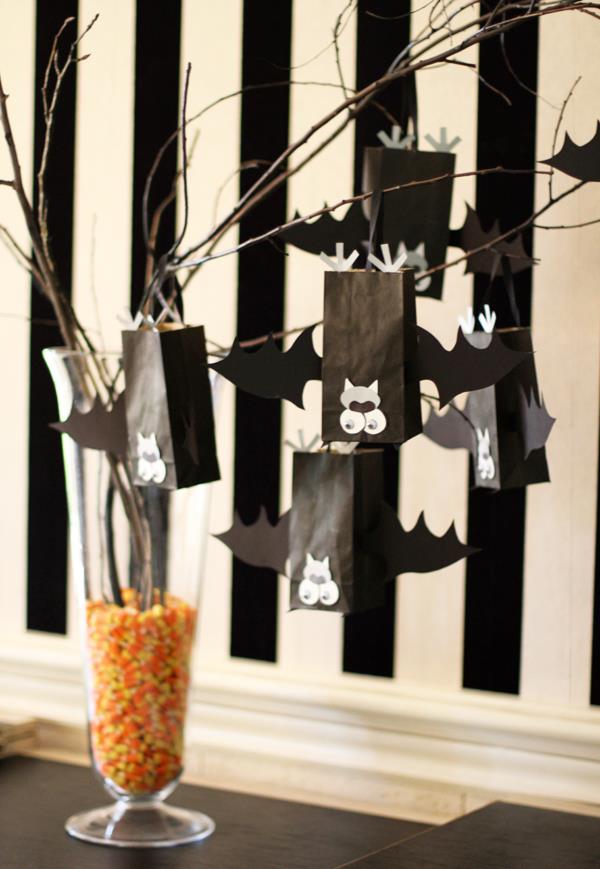
For a fabulous display, spray paint twigs and sticks black and arrange them in a festival vase. Hang your batty treat bags from the branches as if they’re chilling in a tree. The kids will love it!
Want to see Jessie take you through this craft step by step? Check out the video below: