• Skip to content
  • Skip to secondary menu
  • Skip to primary sidebar
  • Skip to footer
  • Home
  • Shop ModernMom
  • Become An Insider

ModernMom

The premiere destination for moms

  • Parenting
    • Pregnancy
    • Baby
    • Kids
    • Tweens and Teens
    • ModernMom Monday Videos
  • Cooking
  • Living Healthy
    • Breast Cancer
    • Health & Fitness
    • Body after Baby
    • Beauty
    • Relationships
    • Love
  • Lifestyle
    • Crafts
    • At Home
    • Education
    • Travel
    • Pets
    • Decorate
    • Money
    • Brooke Burke
  • Celebrate
    • Holidays
      • Easter
      • Valentine’s Day
      • New Year’s
      • Christmas
      • Hanukah
      • Halloween
      • Thanksgiving
    • Birthdays
    • Parties
  • Must Have
  • Contests
  • Entertainment

How to Wrap with a Gift Bag

October 11, 2009 by ModernMom Staff Leave a Comment

Using gift bags to wrap gifts is less time-consuming than conventional gift wrappers. There is no need to do a lot of measuring, cutting and taping. Using gift bags is also environmentally friendlier than paper gift wrappers because they are reusable. These reasons are why many people prefer using them to wrap gifts. Gift bags come in different designs and sizes. There are gift bags made for birthdays, weddings, graduations, baptisms and many more. They also come in different materials, such as paper or fabric.
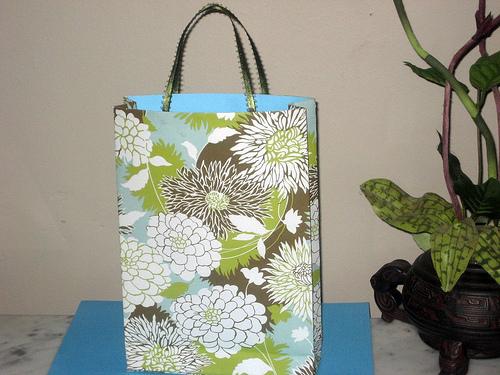
Step 1

Gift bag

Get a gift bag, preferably double or triple the size of the gift.

Step 2

Tissue papers

Lay the tissue papers down on top of a flat surface with the design facing down. Arrange the tissue papers on top of each other so that they overlap.

Step 3

Jewelry in a box

Wrap the gift with the tissue papers. Place the gift at the center of the tissue papers, lift all corners of the tissue papers up, put them together and scrunch them slightly to the center.

Step 4

Place the tissue papers with gift inside the gift bag. Make sure the top portions of the tissue papers are showing for a more attractive and festive appearance. Adjust the tissue papers neatly as needed.

Step 5

Curly ribbons

Tie the two handles of the gift bag with ribbons. Use curly ribbons or grosgrain ribbons achieve a fuller, more finished effect.

Step 6

Sign the gift tag and attach it to the handle of the gift bag or to one side of the gift bag using adhesive tape. You may also choose to insert a greeting card inside the gift bag instead of the smaller gift tag.

Step 7

Embellishments

Add embellishments to decorate your gift bag. Choose trinkets, small bells, craft items or silk flowers to adorn the gift bag.

Comments

comments

Filed Under: At Home

About ModernMom Staff

Reader Interactions

Primary Sidebar

Tell a friend

  • Facebook
  • Instagram
  • Pinterest
  • Twitter
  • YouTube

Search

ModernMom Boutique

ModernMom TV

Featured

20 Things I Wish I Knew Before I Had Kids

After seeing and holding the newest member of our family … [Read More...] about 20 Things I Wish I Knew Before I Had Kids

Must Have

winter

Pre-Holiday Must-Haves

"It's beginning to look  a lot like Christmas..." The … [Read More...] about Pre-Holiday Must-Haves

Did you know?

How to Take Wrinkles Out of Polyester With Steam

Cover a Pork Roast

Should You Cover a Pork Roast & Add Liquid When Baking?

Signs of PMS or Pregnancy

Decoding a Man’s Hug

Decoding a Man’s Hug

Natural Remedies to Increase Sperm Count

Natural Remedies to Increase Sperm Count

Early Signs of Pregnancy While on Birth Control

Early Signs of Pregnancy While on Birth Control

Different Kinds of Textures for Children

Different Kinds of Textures for Children

Footer

  • About Us
  • Contact ModernMom
  • Advertise With Us
  • Press
  • Privacy Policy
  • Terms of Use
  • Contributors

Copyright © 2021 Modern Mom. All Rights Reserved.

Reproduction of any portion of this website only at the express permission of Mom, Inc.

The information provided on ModernMom is for educational use only. It should not be used as a substitute for professional medical advice, diagnosis or treatment.