
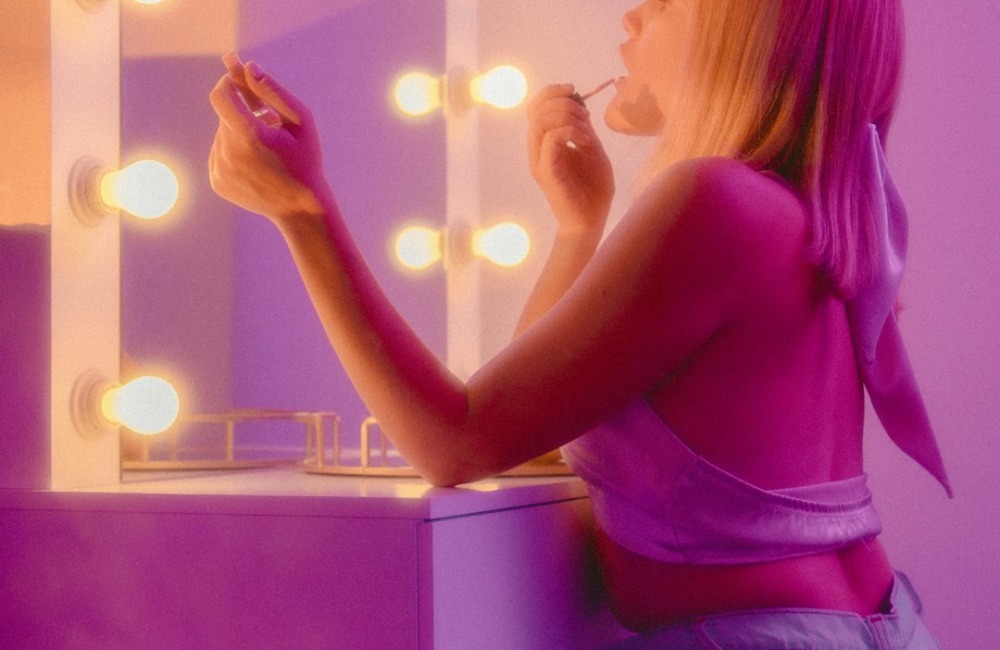
Once you have a set makeup routine, you can get ready quickly. Reduce the size of your makeup bag by including only the essentials for face, eyes and lips. Toss out any extra shades of lipstick you have not worn in six months, since you probably won’t wear them again. Stick with the shades and brands that you like the best. By minimizing your makeup case and makeup in drawers, you will spend less time looking for the right shade. Sticking with the same colors also makes it easier and faster to get ready, which is essential when you’re busy. This is how to apply makeup in 10 easy steps.
Step 1 – Protect Skin First
Nourish and protect skin with a light, daily moisturizer containing a sun protection formula (SPF). Dermatologist Kevin Berman recommends wearing a moisturizer with SPF daily. Choose a daily moisturizer for your skin type– either oily, dry or combination. Use a product with at least an SPF of 15 and wear it every day. Apply a moisturizer with SPF 30 or 45 if you live in a sunny climate or plan to spend time outdoors. Stick with a facial moisturizer that absorbs quickly and doesn’t leave a wet feeling on the skin, so you can continue your makeup routine.
Step 2 – Concealer
Dab concealer on blemishes or dark under-eye circles. Choose a liquid concealer with its own wand applicator. Liquid concealers blend well into the skin. Choose a shade that is one shade lighter than your skin color, not darker. Let it dry if it is liquid. Or use a stick concealer for heavier coverage. Some concealers contain skin treatments, including wrinkle formulas, redness reduction or acne medicine. The concealer can also be reapplied after Step 3.
Step 3 – Foundation
Choose a lightweight foundation for daytime use if you need to even out your overall skin tone. A heavier foundation may be used for nighttime. If you feel the foundation is too heavy but you still need overall coverage, consider a water-based foundation instead of an oil-based one. For a light touch, mineral makeup powder may suffice if you want to skip foundation entirely.
or powder.
Step 4 – Highlights
Highlight the various features of your face, working from the top down. Fill in spaces and gaps in eyebrows with eyebrow powder. Eyebrow powder is applied with a small brush and looks more natural and less drawn-in than a pencil liner. Use a shade that is slightly lighter than your eyebrow shade. Have eyebrows professionally waxed at least twice a year, and maintain them in between visits. Shape and tweeze eyebrows following their natural growth pattern.
Step 5 – Eye Shadow
Apply eye shadow with a light touch and blend with cotton balls, Q-tips or clean fingertips. Use a tri-colored eye shadow palette that matches your eye color, not your outfit. The palette will include a medium color for the eyelids, a light color for highlighting the area between the eyelid and the eyebrow, and a darker color, for the crease. Coppers, tans and browns bring out blue eyes. Shades of green, plum, browns and beige are best for hazel eyes, according to Almay (see Resources). The best colors for brown eyes include light brown, tan and lavender for day, and deep purple and chocolate brown for night. For any nighttime look, intensify the look of your eyes with deeper hues of the same colors. For example, for blue eyes, use metallic copper instead of brown.
Step 6 – Eyeliner
Line the upper eyelid, above the lashes, with a pencil eyeliner. Start at the inner corner of the eye and draw the line out. For close-set eyes, make the line thicker as you reach the outer corner of the eye. Blend the eyeliner with a Q-tip or your finger. For a more natural look, line only the upper lid. For a more dramatic look, or for nighttime, line the lower lid with a smudge-proof and waterproof eyeliner. For long days, skip the bottom liner, which is the one that can run. Choose the lightest neutral color you can for day use, either a light brown or gray. Save the black eyeliner for nighttime.
Step 7 – Eyelash Curler
Gently curl eyelashes with an eyelash curler. Some newer mascara products will lengthen and curl lashes without the curler. Pick one of those brands if you want to skip the curling step. Remove the wand from the container and gently roll it over a tissue to break up any clumps. Apply the mascara to the upper lashes, starting near the eye and moving the wand to the tips of the lashes. Make several swipes for thicker lashes. Repeat on the other eye. Use a waterproof mascara for summertime or for long days.
Step 8 – Protective Lip Balm
Apply a protective lip balm to your lips to moisten them. Line your lips with a lip liner that matches your lipstick shade. Start with the upper lip in the center and draw the line towards the ends of the lips. Give yourself a fuller pout by making the line slightly above your natural lip line. Avoid the outlined lip look by applying lip liner over your entire lip line. This helps you keep your makeup on your lips longer. Add more lip balm if your lips feel dry. For a more natural look, use only the lip balm and skip to Step 9.
Step 9 – Lipstick
Apply lipstick to the lips. Blot with a tissue. Use a nude or neutral shade for a natural look, or apply a shiny lip gloss for shine only and not color. Pinks are flattering and can be worn by any woman. To make teeth look whiter, opt for a shade of plum with blue undertones. When you cannot find the perfect lipstick color, layer two lipsticks to create your own custom lipstick color.
Step 10 – Loose Powder
Finish off the look with loose powder. For a natural and flattering look, use a mineral makeup product. The mineral makeup powder will deflect light and hide imperfections. It can be dusted on with a large makeup brush. Use a smaller brush to highlight cheekbones with the mineral makeup, or apply blush. For best results, dust excess powder off the brush before applying to the face. Apply loose powder in circular motions. Pressed powder is another option, but it will give you a less natural, more made-up look.
Warnings
- Avoid trendy makeup colors and stick with shades that work for you.
- Don’t wear mascara every day if you don’t need it.