
If your lashes naturally point straight ahead or downward, a little curl can make your eyes look more open and defined — even before you add mascara. The good news is that you don’t need lash extensions or complicated tools to do it.
From a classic eyelash curler to a simple spoon technique, there are several ways to curl eyelashes at home. The key is to work gently and avoid pulling, overheating or repeatedly stressing the lashes.
1. Use an Eyelash Curler
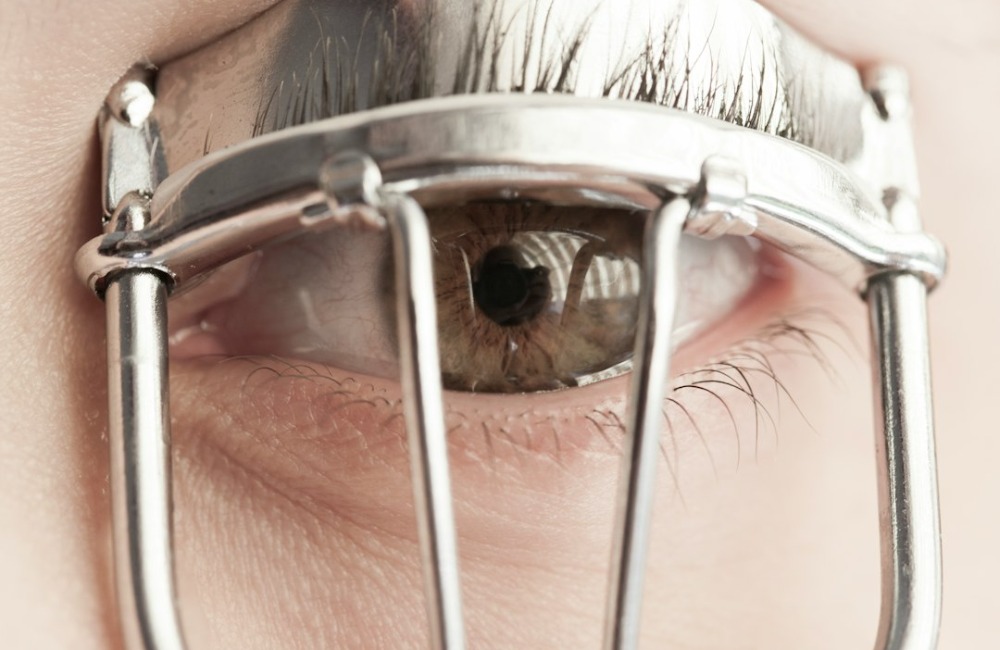
An eyelash curler is the quickest and most reliable way to create a noticeable curl.
How to Curl Your Eyelashes
- Start with clean, dry lashes.
- Open the eyelash curler and position it close to the base of your upper lashes without pinching the skin.
- Gently squeeze the curler closed and hold for about 5 to 10 seconds.
- Release the curler and move it slightly farther toward the middle of the lashes.
- Gently squeeze again for a few seconds.
- Repeat near the tips if you want a softer, more rounded curl.
Curling in two or three places rather than clamping the lashes once at the base can help create a more natural curve instead of a sharp bend.
Tip: Curl your lashes before applying mascara. Mascara can make lashes stiffer, which may make them more likely to stick to the curler or break.
2. Try the Spoon Method
If you don’t have an eyelash curler, a clean metal spoon can create a gentle curl.
How to Do It
- Choose a clean teaspoon with a smooth edge.
- Warm the spoon slightly by holding it under warm water, then dry it completely.
- Test the spoon against the inside of your wrist first. It should feel comfortably warm — never hot.
- Hold the spoon horizontally against your upper eyelid with the curved edge just above the lashes.
- Using a clean finger, gently press the lashes against the curved edge of the spoon for several seconds.
- Work your way across the lash line until the lashes are curled.
The warmth can help the lashes hold their shape temporarily, but heat is not required. A room-temperature spoon can work too.
Important: Never use a spoon that feels hot near your eye.
3. Curl Lashes With Your Fingers
Your fingers can give lashes a subtle lift when you want a very natural look.
How to Do It
- Wash and dry your hands.
- Rub your fingertips together for a few seconds so they feel slightly warm.
- Gently press your upper lashes upward toward your eyelid.
- Hold them in place for about 10 seconds.
- Release and repeat if needed.
This method won’t usually create as dramatic a curl as an eyelash curler, but it can help lift straight lashes.
4. Use Mascara to Help Hold the Curl
Mascara can help lashes stay lifted after you curl them.
After curling your lashes, place the mascara wand near the roots and gently wiggle it from side to side before sweeping upward toward the tips.
As you move the brush upward, slightly roll the wand toward the eyelid. This helps encourage the lashes to stay lifted rather than pointing straight out.
For more definition, allow the first coat to dry slightly before adding a second light coat.
If your lashes tend to lose their curl quickly, a lightweight or curl-enhancing mascara may work better than a very heavy formula.
5. Try the Clean Mascara Wand Technique
A clean spoolie or mascara wand can also help shape lashes without adding product.
- Make sure the brush is completely clean.
- Brush upward from the base of the lashes.
- As you reach the tips, gently hold the lashes upward with the brush for several seconds.
- Repeat across the lash line.
This is especially useful if your lashes already have some natural curl and simply need a little extra lift or separation.
How to Make Your Eyelash Curl Last Longer
If your lashes look curled immediately but fall flat within an hour, a few small changes may help.
- Start with completely dry lashes.
- Curl before applying mascara.
- Use several gentle squeezes along the lash instead of one hard clamp.
- Avoid applying too many heavy coats of mascara.
- Keep your eyelash curler clean so makeup buildup doesn’t stick to your lashes.
- Replace worn or cracked curler pads.
Can You Curl Eyelashes Without an Eyelash Curler?
Yes. The spoon, finger and clean mascara wand methods can all provide some lift without a traditional eyelash curler.
The results are usually subtler, however. If your lashes are particularly straight or point downward, an eyelash curler will generally create a stronger and more consistent curl.
Should You Curl Your Lashes Before or After Mascara?
In most cases, curl your eyelashes before applying mascara.
Wet or dried mascara can cause lashes to stick to the curler. Lashes may also become more rigid after mascara dries, which can make aggressive curling more likely to damage them.
For the safest routine, curl clean lashes first and apply mascara afterward.
How to Curl Eyelashes Safely
The skin and lashes around your eyes are delicate, so gentle technique matters.
Avoid:
- Pulling or jerking an eyelash curler
- Squeezing the curler as hard as possible
- Using a dirty eyelash curler or spoon
- Using hot metal or directing a hair dryer toward your eyes
- Curling lashes aggressively after mascara has dried
- Sharing eyelash curlers or eye makeup with other people
- Using powders close to the eyes to help curl lashes
If your eyelid or eye becomes irritated, stop and give the area time to recover.
Keep It Gentle
You don’t need extensions or complicated beauty tricks to make straight eyelashes look more lifted. A clean eyelash curler is usually the easiest option, but a spoon, your fingers or a mascara wand can also provide a subtle curl.
Whichever method you choose, gentle pressure is more important than force. Treat your lashes carefully and you can create a more open-eyed look without unnecessarily stressing them.