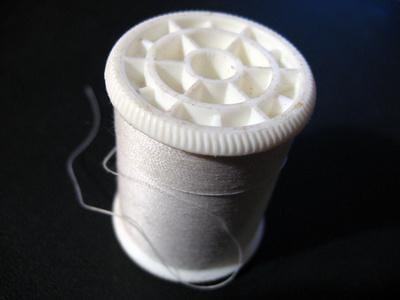
Just when you thought there was no other way to remove your unwanted facial hair, another technique comes along. But what may sound new to you, is actually an ancient process that requires no messy waxes, metal blades, electricity or lasers. Native to the Middle East, threading or “khite” removes hair with nothing more than two thin strands of cotton. Once you get the hang of it, you will wonder why you have never tried it before. Better yet, just think of all the money you will save on trips to the salon.
Step 1
Cut two 24-inch long pieces of thread with a pair of scissors. Make sure that the thread is made of strong cotton to prevent breaking during the threading process. Join the thread together by tying two of the cut ends of thread in a knot. Follow up by tying the other two loose ends together in a knot.
Step 2
Lay the joined threads out on a stable surface in front of you, forming an oblong circle. Slip the pointer finger of your left hand into the upper left quadrant of the circle, and your pointer finger from your left hand into the right upper quadrant.
Step 3
Slip your right thumb into the lower left quadrant, and your right into the lower right quadrant of the oblong circle. Hold the thread taut as you lift if from the table with your thumbs and pointers.
Step 4
Hold the thread out in front of you and rotate the thumb and pointer of your right hand, forward. The rotation will twist the center of the string. Allow the string to slide freely along the thumb and pointer of your right hand as you twist. The thumb and finger of your left hand should remain stationary at all times. Rotate the thread approximately 10 times.
Step 5
Continue holding the thread out in front of you. By now, the thread should have taken on the shape of an hourglass. The ends of the thread held taught with your thumbs and pointers, and the center twisted tightly. Take the thumb and pointer on your right hand, and open and close them like you would a pair of scissors. Notice that as you do this, the center twist moves to the left. Now, open and close the thumb and pointer on your left hand–the twist will move to the right.
Step 6
Place the left side of the hourglass-shaped thread over a small section of hair. Quickly open and close the thumb and pointer of your right hand. Immediately follow that up by opening and closing the thumb and pointer on your left. As you open and close the fingers on your right hand, the left side of the hourglass will begin to close tightly around the hair, plucking it out when you open and close the fingers of the other hand. Repeat the process until you are satisfied with the amount of hair removed.
Warnings
- Do not pull up as you thread. The thread must be flat against the skin at all times during the threading process.
Photo Credit
- thread 3 image by askthegeek from Fotolia.com


