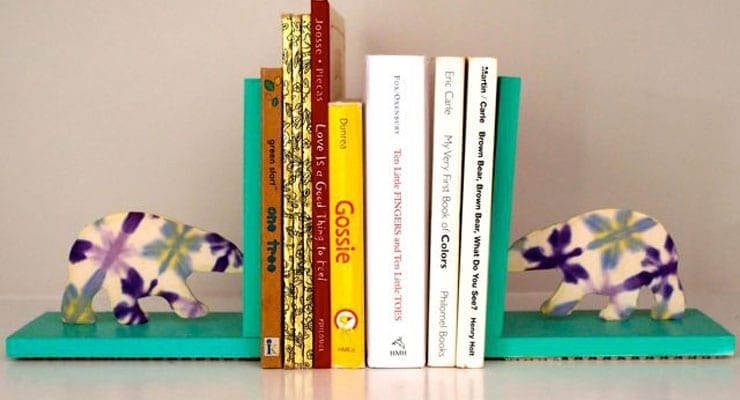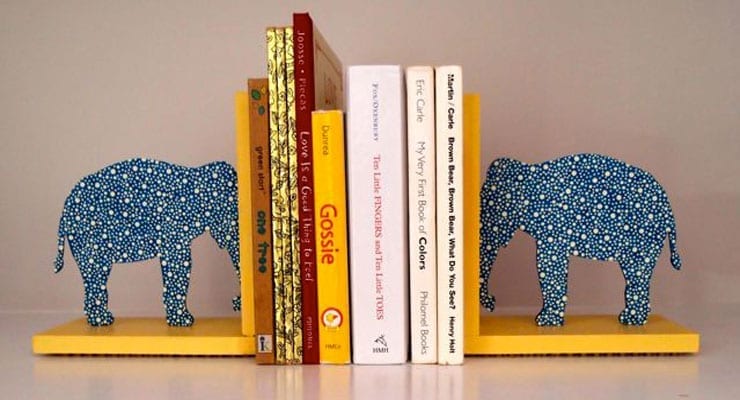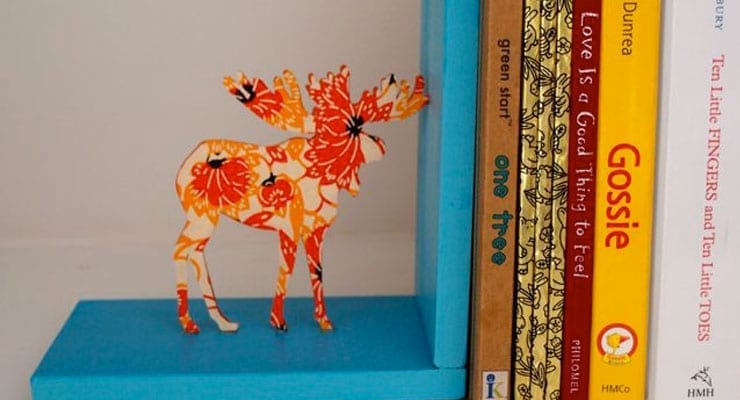
I found some Baltic Birch wood animal cutouts on eBay and just knew I had to create something with them.
I wanted them displayed in a funky, childlike kind of way, but not just as decoration.
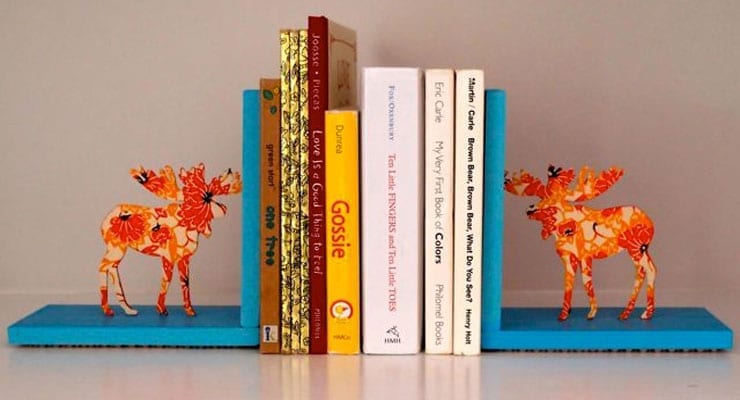
Book ends! A great idea for functional art! And so adorable in my new baby’s nursery. Super simple, but a bit time consuming I must say. A perfect weekend project.
Supplies
- Animal Cutouts- You can find them on eBay if you search “Unfinished wood shapes” and they’re probably also available at most craft stores. You want them at least 4″ high, but no taller than 6″.
- A couple of 24 x 3 1/2″ Poplar wood beams. I got mine at the lumber store and cut them into 3’s with a saw. If you don’t have a saw, most lumber yards (or Home Depot) will cut them for you. You’ll need 4 – 3 1/2 x 6 pieces. (I made three sets at a time and am planning on giving a couple sets away to friends.)
- Sand paper
- Wood glue
- Drill and small drill bit
- 1″ nails
- Acrylic paint
- Decorative paper – Handmade paper, or even tissue paper works best. Don’t use card stock, it’s too thick.
- Scissors
- Spray glue
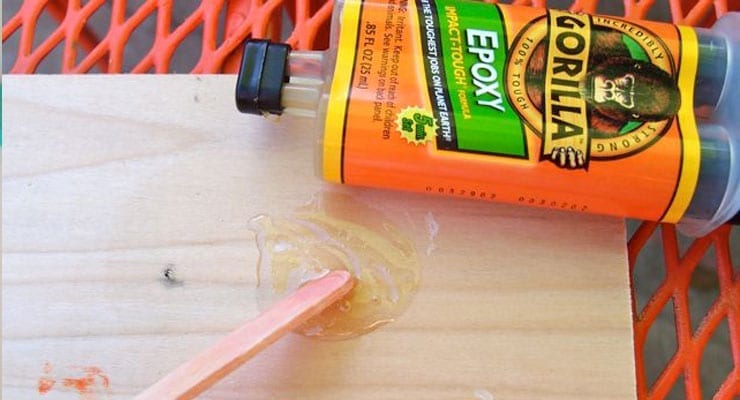
- Epoxy glue
Directions
Once you have your 3 1/2 x 6″ pieces, sand them nicely so there aren’t any rough spots. Once they are nice and clean, wood glue them together in a 45 degree angle. Set aside to dry completely.
Now, drill 3 pilot holes on the bottom of the wood, and hammer in your nails to super secure the ends together.
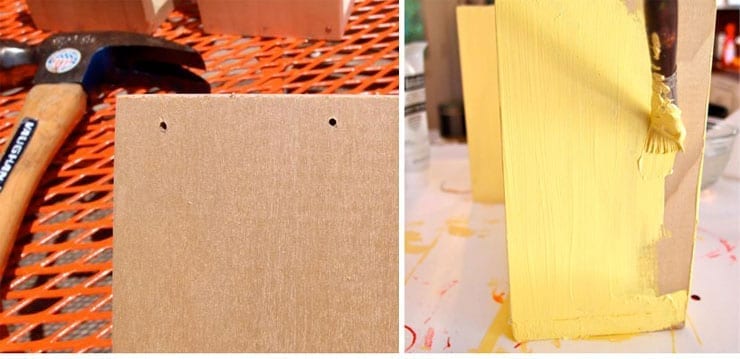
Now paint! Sounds simple, but this was the most labor intensive part. I did three coats on each end, allowing to dry in between. It took a whole afternoon.
Next, take your decorative paper and trace the animal on the back side. You’ll do this twice. Make sure to put your animal down the opposite way for the other end. Cut out carefully. Little, sharp scissors and a steady hand help. 😉
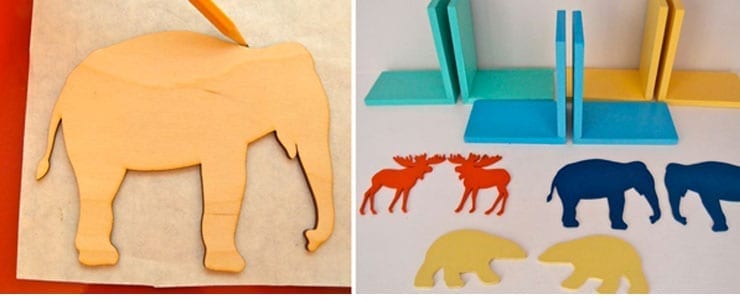
Now paint the backside of the animal cutouts a coordinating color. 3 coats. Drying, drying, drying…
Yay! They’re finally dry! Spray glue the paper cutout to the unfinished side of the animal cutout. You can shape any excess paper around the edges of the animal with your fingers. Press the paper firmly onto the wood.

Now, mix up a little epoxy (outside) and carefully dab it at the points where the animal touches the wooden blocks. Allow to dry the time recommended on your epoxy. If your animal is tipping at all, use some painters tape to secure it to the block while it dries.
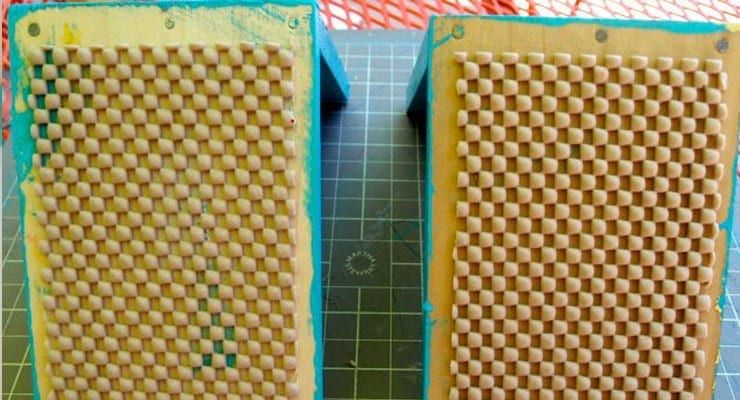
You can add a slip mat under the bottoms to keep the ends secure. I got mine at the dollar store and cut about 1/2″ smaller than the bottom size. That way you won’t see it.
These little ends are great gifts! I made a few sets to give out to good friends. Enjoy!