Contact lenses have come a long way since their creation by F.A. Muller in 1887. Working from an idea and sketch conceived by DaVinci in 1508, the German glassblower used Sir John Herschel’s theory of creating a mold of an individual’s eye to form a glass lens that would improve vision; the first lenses could be worn for up to three hours. Now available for a wide range of sight conditions, contact lenses come in colors, types and materials to fit most lifestyles. The most frequent problem encountered by new contact lens wearers is how to insert the contact lenses in your eyes.
Step 1
Wash your hands thoroughly. Dry them on a lint-free towel.
Step 2
Remove the right lens from the case by touching it with the pad of your forefinger; the lens with adhere to your skin.
Step 3
Rinse the lens, using the solution recommended by your optometrist. Hold the lens up to the light to check that all particles and any lint has been removed.
Step 4
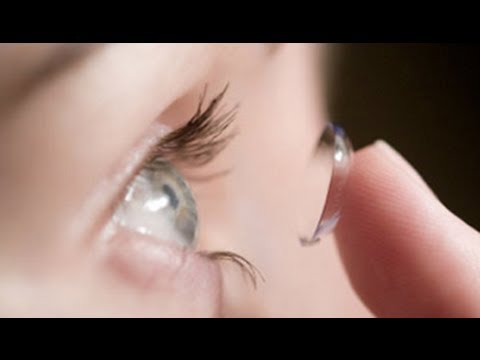
Position the lens so it is balanced on the tip of your forefinger.
Step 5
Pull your right upper eyelid gently upward, using your left hand in an over-the-head position so your face remains accessible to your right hand.
Step 6
Draw your lower right eyelid downward with your right middle finger. Look upward.
Step 7
Place the lens on the surface of your right eye, using a gentle touch to position the lens anywhere on the eye surface. The trick is to avoid all eyelashes and not to worry where the lens is placed.
Step 8
Look forward, gently sliding the lens into the proper position over the cornea (colored area) of your eye. Remove both hands from your eye area. Blink slowly while looking straight ahead.
Step 9
Repeat the process with the left lens, using your hands in opposite order.
Warnings
Always rinse your empty contact lens case with hot water. Allow it to air dry each time you wear your lenses.