 This project comes from our newest featured blogger, Jessica Begum, the crafty momma behind the blog Hipster’s Tea Party.
Check out her tutorial for fun and festive holiday craft:
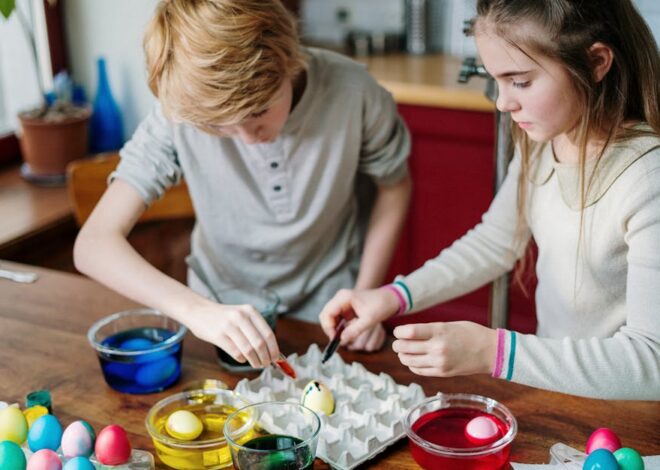
“I was trying to figure out what to do with a leftover bag of corn husks I had from my Thanksgiving crafting.
Make tamales? Sounds okay. Make corn husk glittered trees? Sounds great!
These actually turned out way cuter than my vision, and the best part is, they are super easy to make! Here’s what you’ll need:
 Supplies
- A bag of corn husks
- Paper birthday hats
- Scissors
- Glue gun
- Acrylic paint
- Glitter to match your paint
- White glue
- Paint brush
- Ruler
Directions
Start by disassembling a paper hat. Then, reshape the cone to a thinner, taller cone, and hot glue shut. I tried a tree without first thinning the cone, and it looked like a birthday hat tree. Not so great.
You can make smaller trees by disassembling a hat, lying flat and trimming the bottom edge staying with the curve. I trimmed one down about an inch, and another about two inches. If you want a taller tree, you can trim about 3″ off one hat and glue it to the base of another hat.

Next, cut your corn husks into 2″ x 1 1/2″ rectangles with the grain of the husk running long. Then, round the bottom of the rectangles with scissors into a scallop shape. Don’t worry about being perfect. They don’t all have to match. For the smaller trees, cut the rectangles a bit smaller – about 1 1/2″ x 1″.
Take one long corn husk strip and glue it around the base of your tree form, and trim off any extra so your tree sits upright properly. This is to hide your hat once the tree is finished.
I figured this out after the fact, that’s why it isn’t in the next photo.
Start at the base of your tree, hot gluing corn husk strips so the scallops just touch the edge of the bottom. Continue all the way around.

Next, start another circle up about 1/2 an inch up and stagger the strips like you are laying bricks. Keep going until you reach the top! You can take a pencil and turn out the edges of your “boughs” just a bit if you’d like.
Your finished, unpainted tree should look like this:

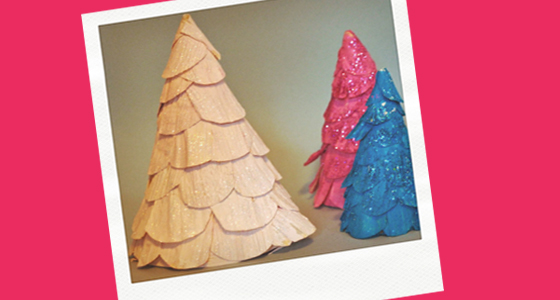
Then, paint it whatever holiday color you fancy! I decided to go retro with white, hot pink and teal blue. Let dry completely- you may even have to apply two layers, drying completely between coats.
 Once your tree is colorful and dry, brush with a thin layer of white glue and sprinkle with glitter. This will help hold the glitter in place extra well and sturdy up your tree a bit. The glue will give your tree a glossy shine too. If you are more of a matte kind of crafter, skip the glue step and apply the glitter directly too the wet paint. 😉
Now, set your tree right up on the mantle where it belongs! Enjoy!
Jessica Begum is a crafty momma of two living on the west side of Los Angeles. Her blog Hipster’s Tea Party is mostly mom and kid friendly crafts, partly ideas for more ambitious projects, and a sprinkle of art and recipes thrown in just for fun. As well as being crafty, she is classically trained in fine art and loves to paint with watercolors and oils. You can join her in a craft, see her paintings, or get inspired at www.hipstersteaparty.com