Whether you’re newly pregnant with your first child or you’ve finally got the resources to design and decorate your nursery, planning for your baby’s room can be exciting. Choosing patterns and colorful themes that will be visually stimulating for a baby are important in the design process, but there are room requirements that need to be considered. For example, a changing table and a rocking chair could be considered two requirements for a well-designed nursery. A rug can help soften the floor when pacing while holding a baby. Once your nursery is designed, though, you can decorate to your heart’s content.
Step 1
Measure the length and width of the room that will become the nursery.
Step 2
List the baby room’s furniture that will take up floor space. Include any optional items of furniture or other items such as a toy box that will require floor space. Include a crib, rocking chair, changing table, rub and dresser. Measure the floor space each item will need. If the item isn’t purchased yet, estimate the floor space. If you haven’t picked a theme, do so before choosing your furniture.
Step 3
Take a piece of grid paper and choose a key such as the space between lines equaling 1 foot. For example, if the room is 8 feet by 10, mark an 8-by-10 grid on the paper. Take another piece of grid paper and cut out the floor space requirement for each piece of furniture. For example, if the crib is 2 feet by 4, cut out a piece of grid paper that is 2 squares long and 4 squares wide. Label each item with the piece of furniture it represents.
Step 4
Arrange the furniture pieces on the grid paper that has the room’s floor space grid on it. Rearrange as necessary to get the combination that feels right for you. Remember to consider windows and lighting when arranging furniture. In cooler climates, you may not want to position the crib near the window.
Step 5
Continue to rearrange the furniture grid pieces on the floor layout grid until you are satisfied. Tape the pieces in place so that wind or accidental movements will not disturb your design.
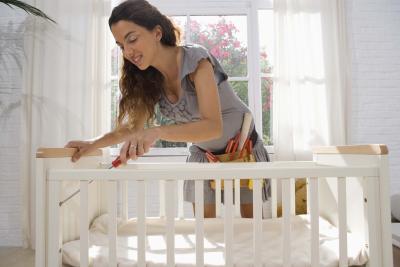
Step 6
Position the furniture in the room just as it is laid out on your grid paper. Decorate to your personal tastes.